This page provides details regarding the functionality and usage of the CRO Roster Calendar Manager Application, which can be access through the Menu using “Applications > CRO Roster Calendar Manager” or directly from this link.
To use this application you must be logged into your CRO Roster Calendar Manager account.
To obtain an account please contact info@jamjabsoftware.com. This application is only relevant to Hampshire CROs and so only open to them.
Application Functionality
The CRO Roster Calendar Manager Application, subsequently known as The Application, performs a synchronisation of roster data, received and uploaded weekly by the JAMJAB Software website owner, with a member’s Google Calendar.
The Application requires the following access to the member’s Google account:
- The permission to perform readonly access to the account’s calendars – as defined by the Google scope “https://www.googleapis.com/auth/calendar.calendarlist.readonly”.
- The permission to create a dedicated, for the sole use of The Application, secondary calendar within the Google account – as defined by the Google scope “https://www.googleapis.com/auth/calendar.app.created”. The secondary calendar will be called “CRO Roster”.
- The permission to read the account’s email – as defined by the Google scope “https://www.googleapis.com/auth/userinfo.email”.
The details of the synchronisation performed by The Application are now given:
- The functionality is only available to logged-in members. The member’s profile contains the data to use for filtering of the roster data.
- The synchronisation is initiated by selection of a Sync to Google Calendar button, resulting in the following sequence.
- Initiate a Sign in to Google sequence that links this application to a member’s Google account.
- Loads the latest roster data as indicated by “Roster Week” displayed on the page.
- Filters the roster data for the logged-in users roster.
- Compares the filtered roster with the “CRO Roster” calendar associated with the signed in Google account. Note that if the “CRO Roster” calendar does not exist then The Application will create it, as would happen on first usage or if the member deleted it directly from their Google Calendar.
- Makes the appropriate UPDATE, INSERT or DELETE actions on the “CRO Roster” calendar that resulted from the step above.
User Interaction
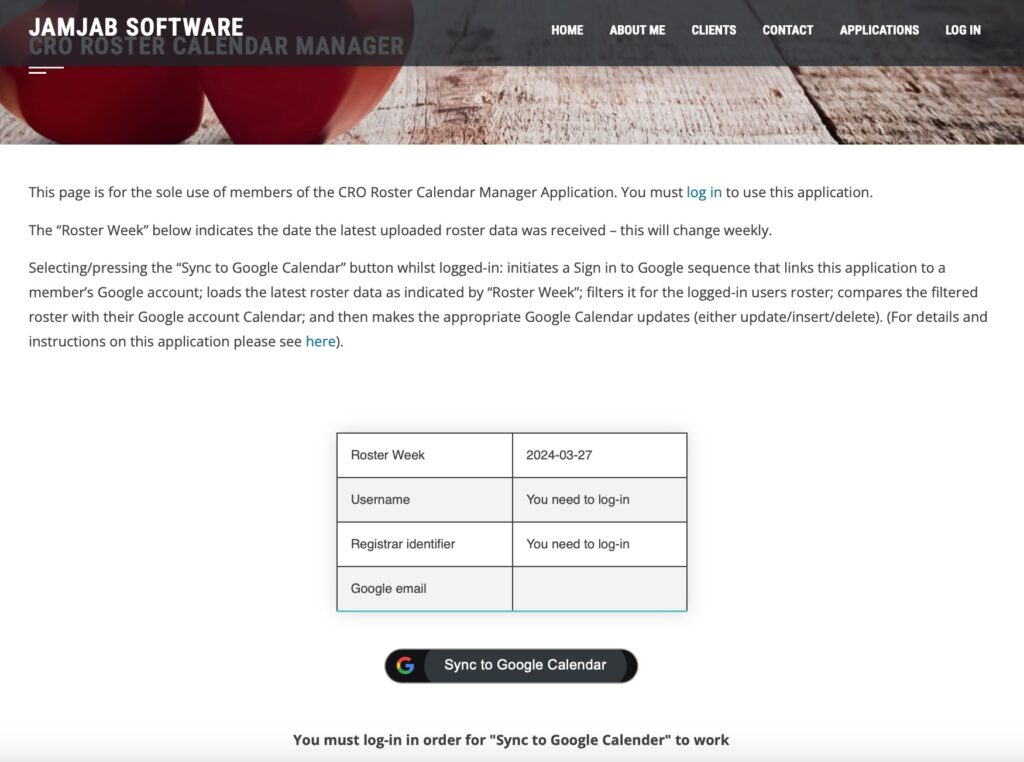
CRO Roster Calendar Application page when member is not logged-in.
Note: if you select the “Sync to Google Calendar” button at this stage the page will refresh and inform you that you must be logged in.
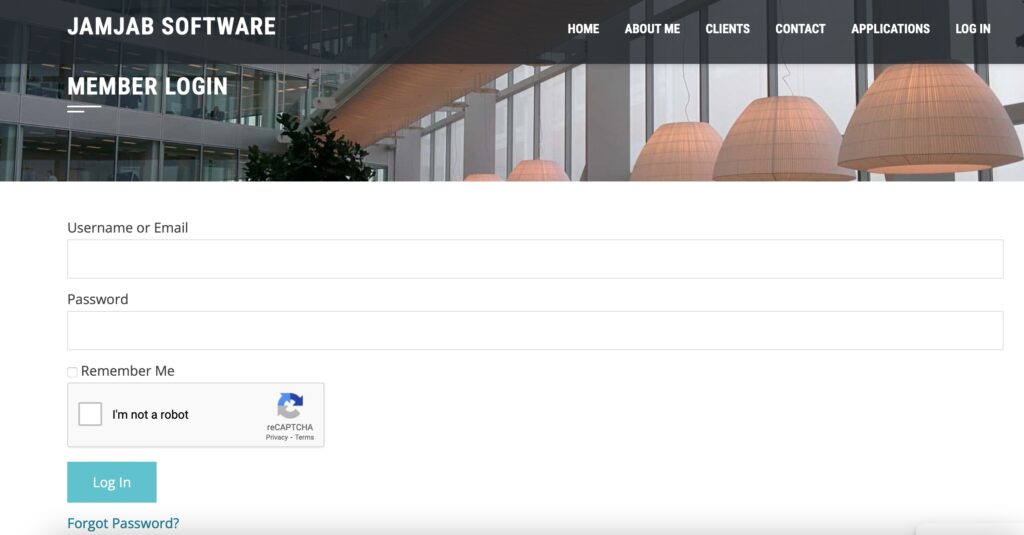
Select “LOG IN” on the menu bar or the “log-in” link on the CRO Roster Calendar Manager page to login-in with your credentials (username and password).
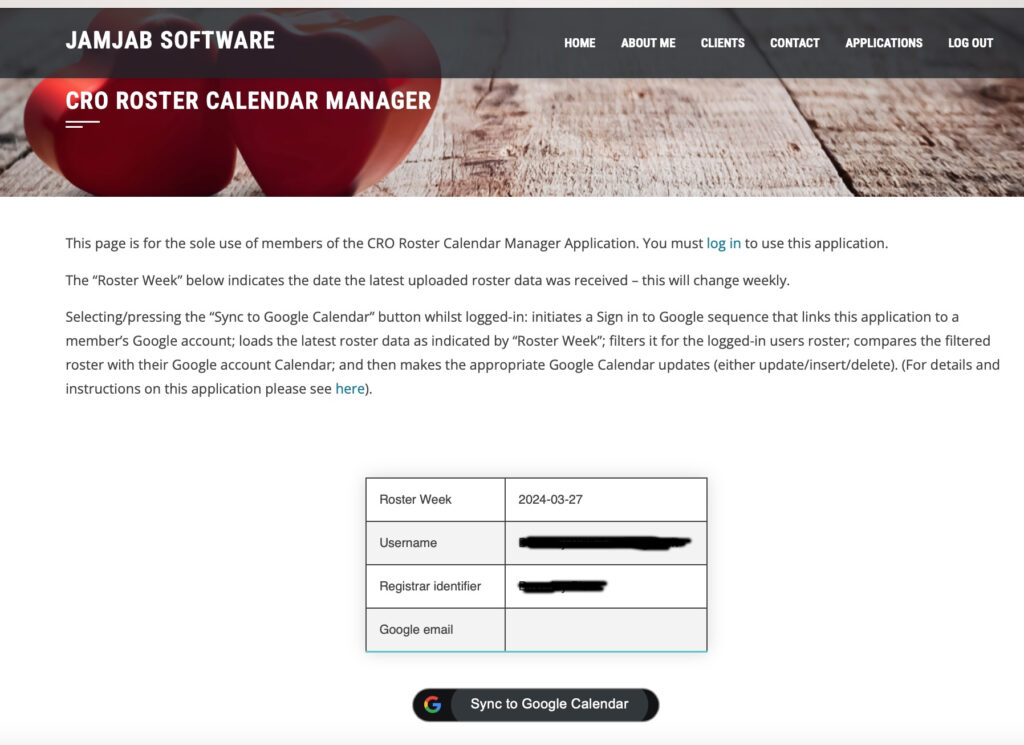
After logging in navigate back to the CRO Roster Calendar Manager page, where the logged in member’s Username and Registrar identifier are displayed. The Registrar identifier is only for information and was setup at your account creation.
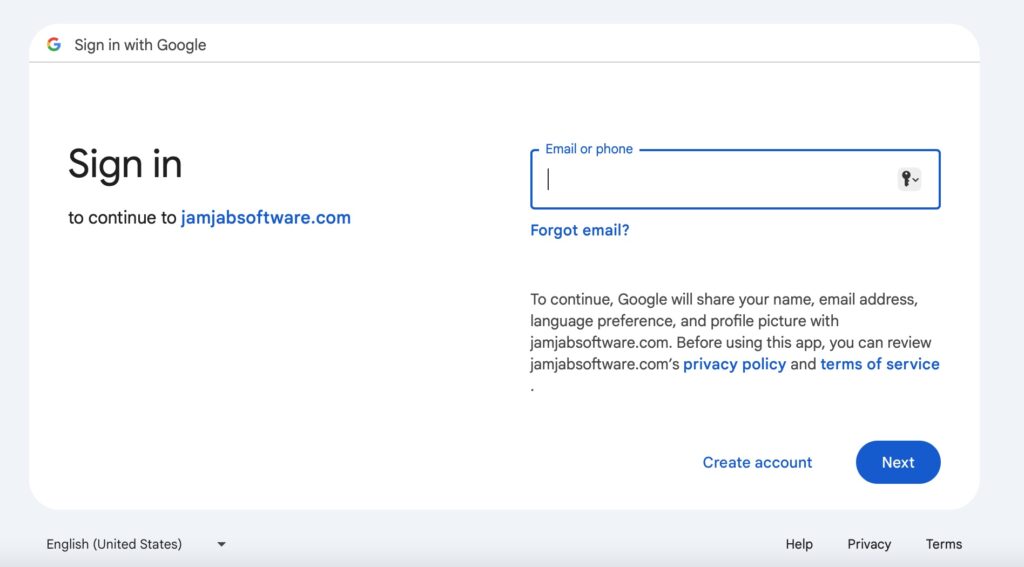
On first selection of the Sync to Google Calendar button, the Google sign-in process is initiated and you must first enter your Google email.
Note: As detailed in the functionality section this process is required to associate and give calendar permissions to The Application.
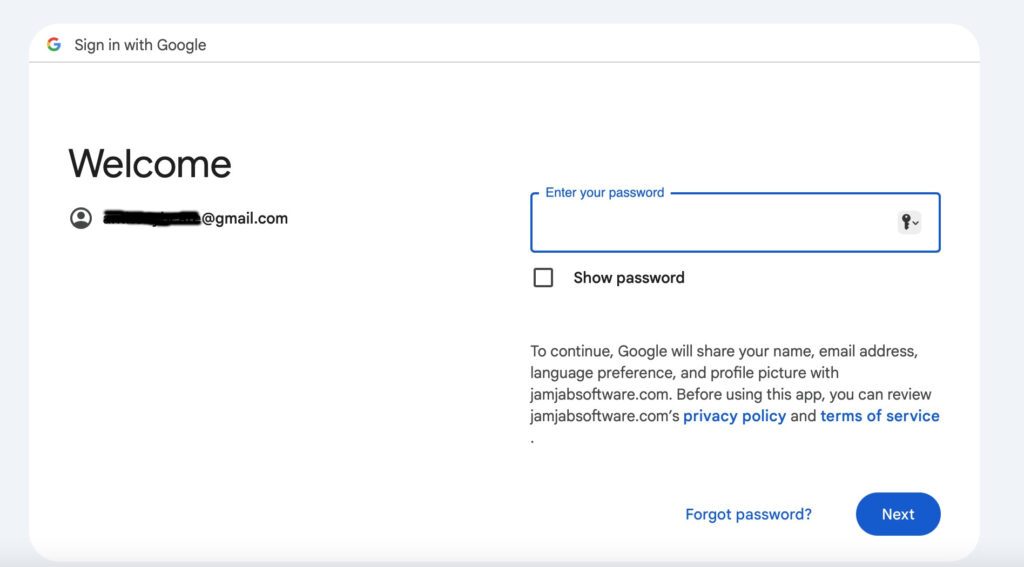
After the Google email is entered the Google password screen is displayed – enter your password.
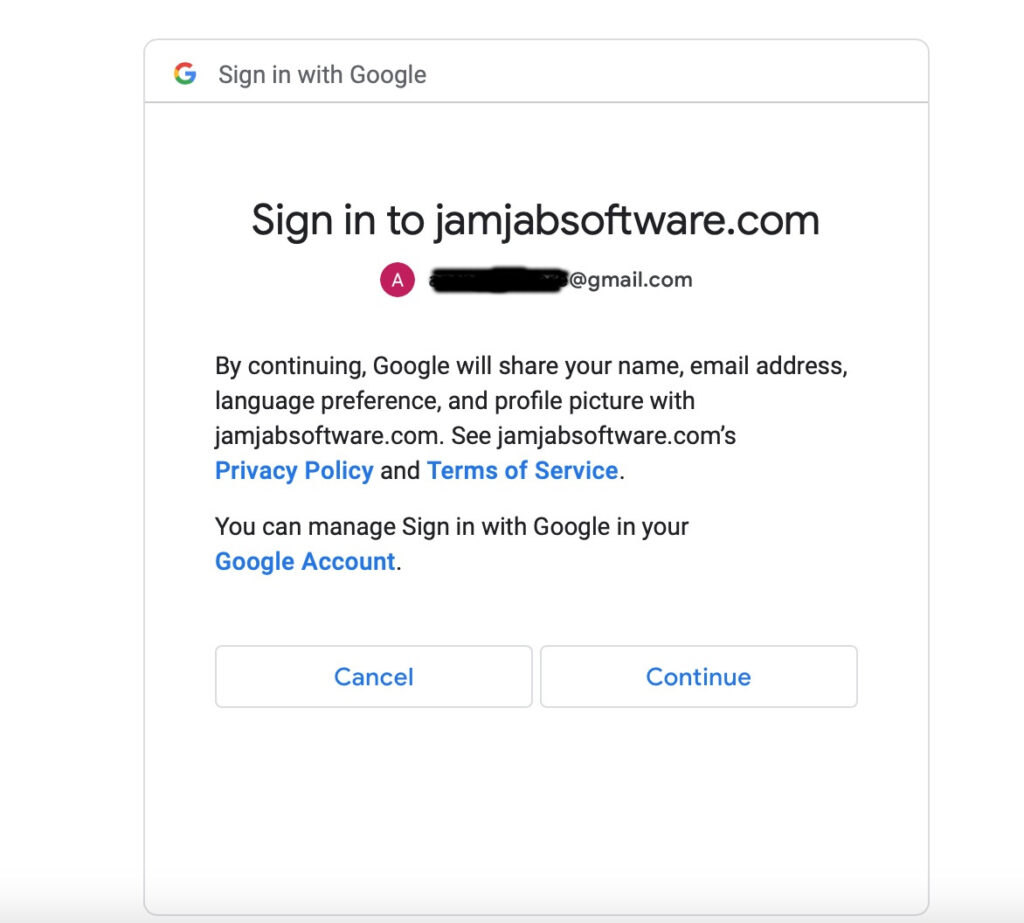
On successful entry of your Google password, Google will present the following indicating that if you select “Continue” you will be sharing your email address with The Application. You must select “Continue” here.
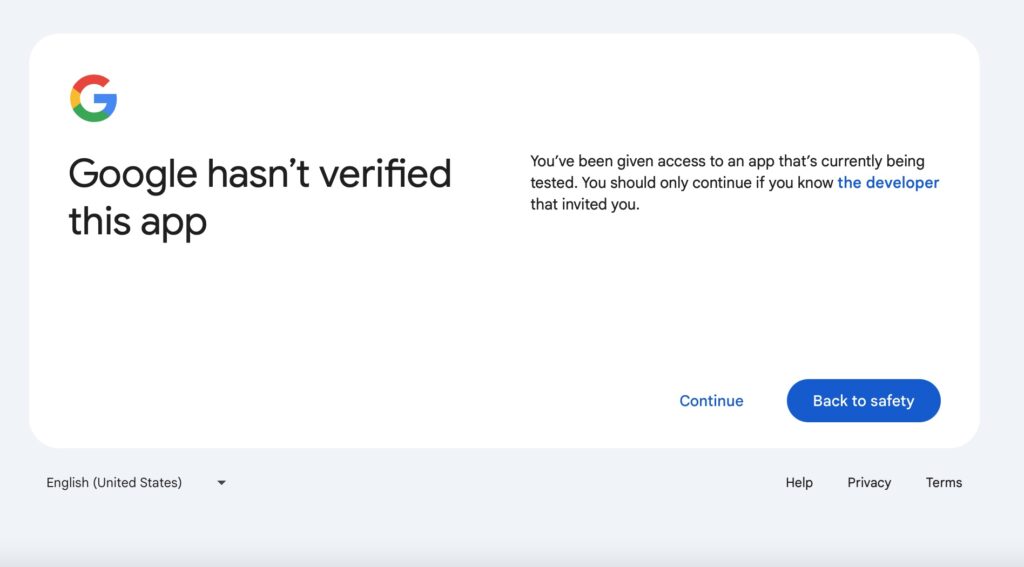
Google will present this screen next. The Application requires that you select “Continue” here. (This page will not appear once Google has approved The Application)
Note: By default Google presents the “Back to safety” button as highlighted, so if you simply hit the return key The Application will not be setup correctly with the Google account.
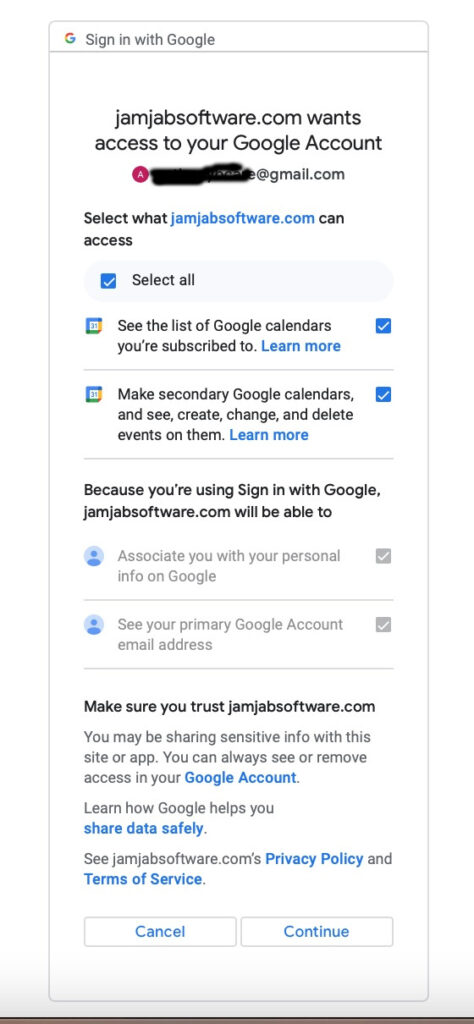
Google will next present the screen showing the access that The Application (indicated by jamjabsoftware.com whilst Google approval has not completed) requires from the Google Account. You must tick “Select all” here and then click “Continue”, otherwise The Application will not function as expected.
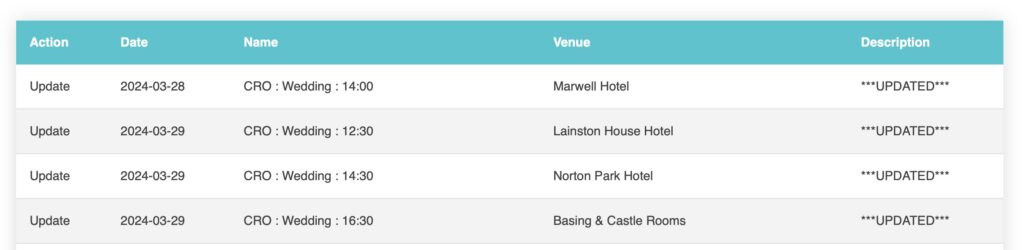
After a short while The Application will have synchronised the member’s roster data with the member’s associated “CRO Roster” Google calendar. A table will appear showing the changes made to the “CRO Roster” calendar. Additionally, the member can go to their Google Calendar and see their roster entries.
Note: The image shows **UPDATED** entries, whereas on a first run or when a new week is synchronised you can expect **INSERT** entries. Additionally, an entry that exists within the “CRO Roster” calendar and is also present within the latest roster will result in an **UPDATE**, forcing any new roster metadata into the Google calendar.
Google Calendar Settings Recommendations
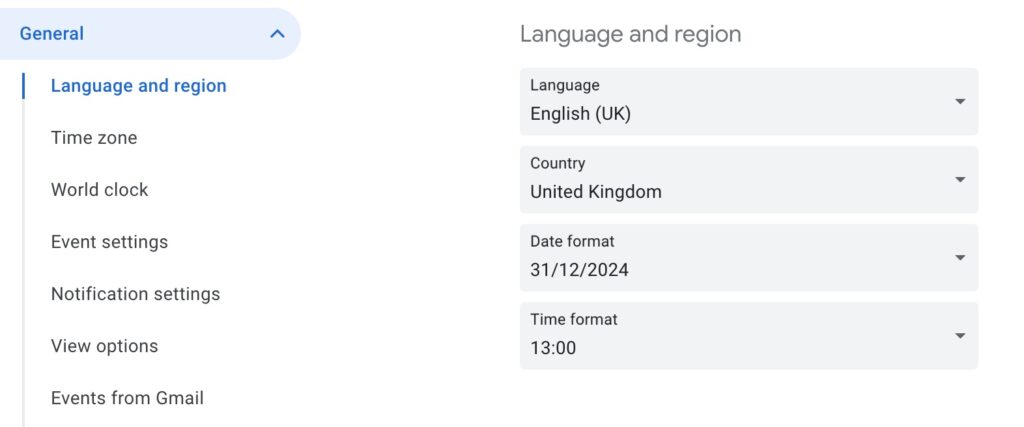
Using you favourite browser, goto your Google Calendar and then navigate to settings, either through the “cog wheel” displayed by Google or by hovering over one of your calendars, selecting the 3 dots and then selecting “Settings and sharing”. Once within settings select “General” and then configure your preferred date and time formats.
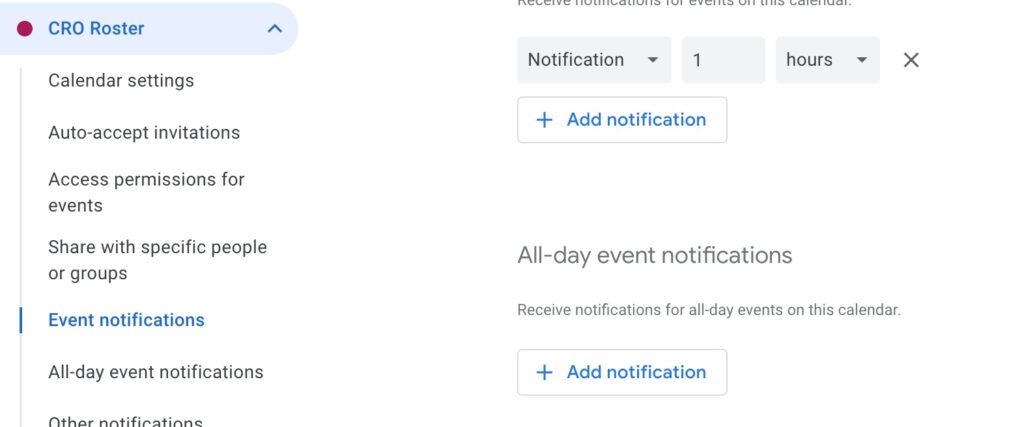
Select the “CRO Roster” calendar from within settings and the select “Event notifications” from within that. Add a notification that is appropriate to you. The image here shows that a notification will be triggered 1 hour prior to the calendar event.
Application Helper
Full details for events stored in Google Calendar by the CRO Roster Calendar Manager can be seen through use of the Helper page. This is viewed as a debug and investigation tool and only really needed when supporting issues with the CRO Roster Calendar Manager.